Over 50 Years of Experience | We can lift it & shift it!

Crane Lift Radius Explained: Why Distance Matters as Much as Weight
May 22, 2026
When planning a lift with GBP Cranes & Heavy Haulage, it is natural for the first question to be about load weight. Weight is critical, but it is only one part of the lifting equation. The horizontal distance between the crane and the load plays a major role in safety, crane selection and project feasibility. In many cases, a crane that can lift a heavy load at a short reach may only handle a fraction of that weight once the radius increases. This is why professional planning for crane hire in NSW must consider the full lift setup, not just the weight of the item being moved.
This article explains what lift radius means, why it has such a strong effect on crane capacity and how it influences crane selection, site setup and lift planning. It also covers the role of boom configuration, ground conditions, rigging weight, site access and accurate measurements. Understanding these factors helps explain why the crane required for a job may differ from initial expectations and why detailed planning is essential before any load leaves the ground.
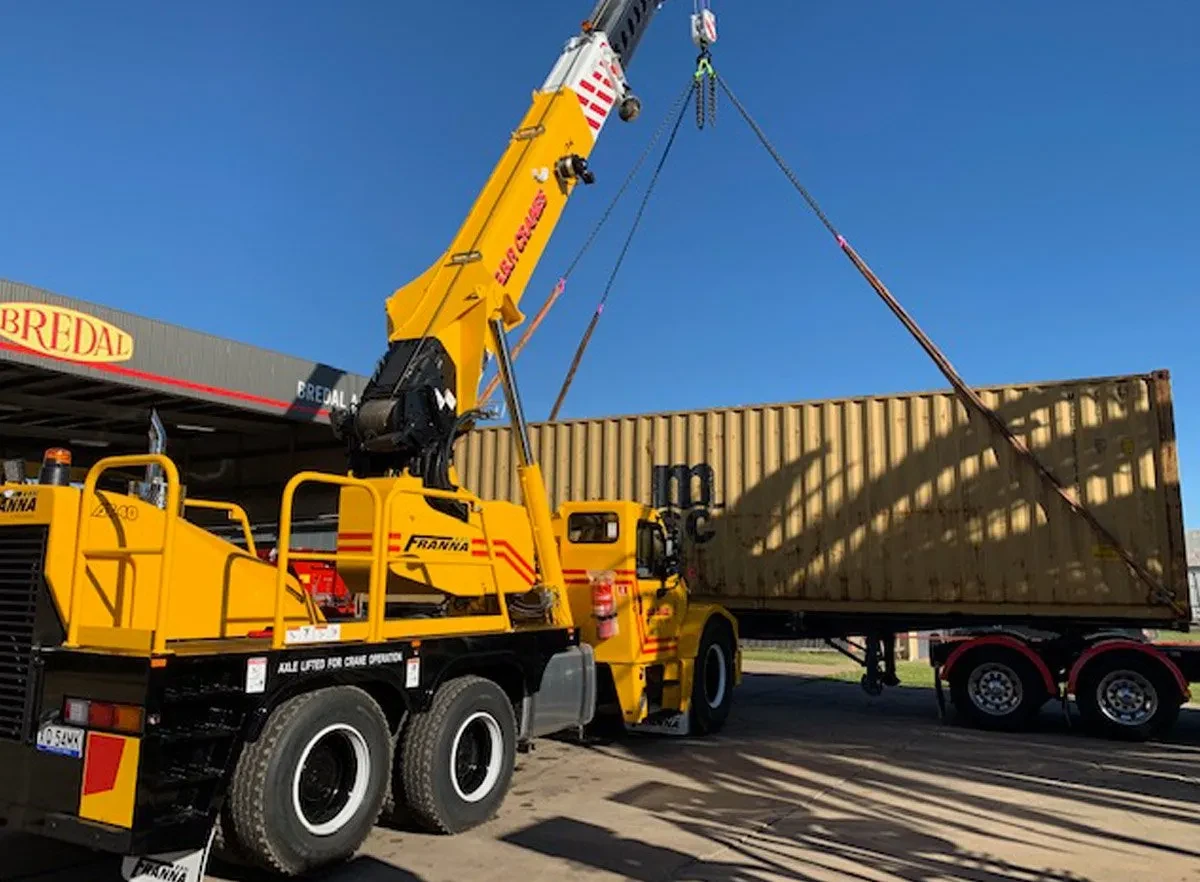
Crane lift radius is the horizontal distance from the centre of the crane’s slewing ring to the centre of the load hook. It is one of the most important measurements in crane planning because a crane’s lifting capacity changes depending on how far the load sits from the crane.
This measurement is taken horizontally, not along the angle of the boom. The reference point is the crane’s centre of rotation, usually the centre of the slewing ring on the upper structure. From there, the radius extends to the vertical line directly beneath the hook when the load is being lifted.
For example, if a crane is positioned 4 metres back from a building and the load needs to be placed 10 metres inside the structure, the lift radius is already around 14 metres before allowing for clearance, boom deflection or rigging requirements. Even small changes in crane position can increase the radius by several metres, which can significantly reduce the crane’s safe lifting capacity.
Understanding lift radius helps determine the correct crane size, the safest crane position and whether the lift can be completed from the available setup area. It also affects cost, access requirements, road closures, exclusion zones and the overall feasibility of the lift.
A crane’s capacity is not a single fixed number. Every crane has a rated capacity chart that shows how much it can safely lift at different radii, boom lengths and configurations. These charts all show the same pattern: as the radius increases, the allowable lifting capacity decreases.
This happens because the crane is not only lifting weight vertically. It is also resisting the leverage created by that weight at a distance. The further the load is from the crane’s centre of rotation, the greater the overturning force placed on the crane, boom, slewing ring, outriggers and supporting ground.
For example, a crane that can safely lift 10 tonnes at an 8-metre radius may only be rated to lift a much smaller load at 20 metres. The load itself has not changed, but the forces acting on the crane have increased because the load is further away.
This is why selecting a crane based only on its headline capacity can be misleading. A 40-tonne crane does not mean it can lift 40 tonnes at any distance. The capacity must always be checked against the actual lift radius, boom length, crane configuration and site conditions.
Lift planning that only considers the weight of the load is incomplete. The true lifting requirement depends on several factors working together, including radius, boom length, height, rigging weight, centre of gravity and ground conditions.
The weight shown on a drawing or data plate is only the starting point. Rigging equipment such as chains, lifting beams, spreader bars, slings and frames must also be included in the total lifted load. In some cases, rigging can add hundreds of kilograms or even several tonnes.
The load’s dimensions also matter. A long, tall or awkwardly shaped item may require the hook to sit further away from the crane to avoid contact with structures, scaffolding, roofs or nearby equipment. This can increase the radius, even if the load weight remains unchanged.
Centre of gravity is another important consideration. If the load is unevenly balanced, it may tilt once lifted, placing uneven force on the rigging and increasing the risk of movement or collision. This is why drawings, lift points, lifting lugs and certified slinging arrangements are so important when lifting machinery, structural components, tanks, prefabricated units or heavy plant.
The crane’s boom setup has a direct effect on both reach and capacity. Boom length, boom angle, fly jib use and slew position all influence how much the crane can safely lift at the required radius.
A longer boom may be needed to reach over buildings, scaffolding, plant or other obstacles. However, extending the boom usually reduces capacity because the crane is working across a greater distance and the boom structure is under more stress.
Fly jibs, luffing jibs and offset jibs can provide extra height or reach, but they usually reduce lifting capacity further. Each configuration has its own load chart because even small changes in boom angle, jib offset or boom extension can shift the hook position and alter the working radius.
Slewing also needs to be considered. Some cranes have different capacities depending on whether the lift is performed over the rear, side or front of the crane. A lift that is safe in one direction may not have the same capacity throughout a full swing path, which is why the entire lift movement must be assessed, not just the pick-up point.
Site conditions often determine where the crane can realistically be positioned. While the ideal lift plan may place the crane close to the load, access restrictions, ground conditions and surrounding structures can force the crane to work from a less efficient location.
Ground conditions are one of the biggest factors. Cranes transfer significant force through outriggers or tracks, so the setup area must be able to support the load safely. Soft soil, recently backfilled ground, trenches, voids, culverts, manholes and underground services can all limit where a crane can stand. If the crane has to move further away to find suitable ground, the lift radius increases and the available capacity drops.
Obstructions can also affect setup. Existing buildings, scaffolding, fences, parked machinery, stockpiles, overhead power lines and nearby structures may prevent the crane from being placed in the most efficient position. On busy construction or industrial sites, traffic routes, pedestrian access and exclusion zones may also restrict the available setup area.
Height restrictions can further influence radius. Nearby buildings, trees, canopies or power lines may require the boom to operate at a particular angle to clear obstacles. A lower boom angle often increases the horizontal reach required, which can reduce capacity.
Wind exposure also matters, especially when lifting at height or using a long boom or jib. Gusts can increase side loading on the boom and affect the safe handling of large or awkward loads. In some conditions, the lift may need to be adjusted, delayed or completed with a different crane configuration.
Accurate lift planning depends on reliable information. Missing or guessed details can lead to the wrong crane being selected, unsafe setup conditions or delays once the crane arrives on site.
The main details needed include:
The lift height must also include allowances for rigging, hook block and load clearance. For example, placing plant onto a 10-metre-high roof may require a hook height of 14 to 16 metres once the height of the load and rigging is included.
Both height and radius determine which crane charts apply. A lift may look simple on paper, but once the crane position, boom angle, rigging and site restrictions are calculated properly, the required crane size may change.
Accurate planning ensures the crane, setup position and lift path match the real conditions on site. When radius, ground conditions, load details and obstructions are checked properly before the lift, risks can be controlled early instead of discovered during the job.
Poor planning often leads to cranes being repositioned, additional counterweight being required, road closures needing to be changed or lifting gear not matching the load. These issues cause delays and can introduce unnecessary safety risks for workers, nearby structures and surrounding property.
Crane charts are only useful when the actual setup matches the assumptions used in the calculation. If a lift is planned at an 18-metre radius but the crane must work at 21 metres on the day, the selected crane may no longer have the required capacity. In that situation, the lift should not proceed until the plan is reassessed.
Good planning also helps avoid over-specifying the crane. In some cases, a small adjustment to crane position, access preparation or lift sequencing can reduce the radius and allow the lift to be completed safely with a more efficient setup. This can reduce mobilisation costs, minimise site disruption and improve scheduling.
Lift radius should be considered early in the project, not after the crane has been booked. The earlier the radius is assessed, the easier it is to make practical decisions about crane position, load staging, access, traffic management and site preparation.
Early planning can identify whether the crane can stand close enough to the load, whether ground bearing pressures are suitable and whether obstacles need to be removed before the lift. It can also help determine whether road closures, permits, escort vehicles, larger mats or additional rigging equipment are required.
For complex lifts, lift studies and site inspections can model the crane setup, boom configuration and load movement before work begins. This gives project teams a clearer understanding of what is possible and reduces the chance of costly changes on the day.
Crane lift radius is not a minor technical detail. It is one of the central factors that connects load weight, crane capacity, boom configuration, ground conditions and site logistics into one safe lifting plan.
For project owners, builders, contractors and site managers, lift radius should be treated with the same importance as load weight. A load may be within the crane’s capability at a short radius but completely outside safe limits once distance, height, rigging and site conditions are included.
By understanding how radius affects crane capacity, projects can be planned more accurately, delays can be reduced and lifts can be completed with better control. In crane operations, distance is never just a measurement. It directly affects safety, efficiency and whether the lift can be completed as planned.